

How to Clean Your Hydration Bladder

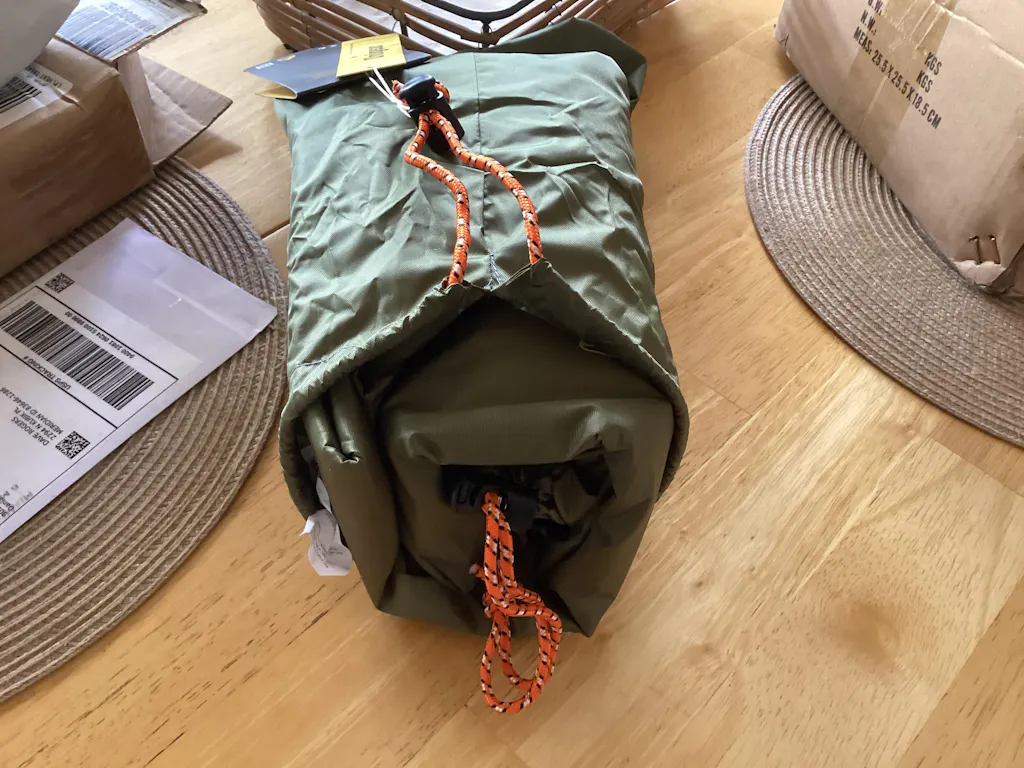
Hydration is the most important thing, especially when you’re a particularly active and adventurous person. That’s why the best you can do to keep yourself hydrated during your outdoor adventures is to get a great hydration pack, such as this one, that you can bring with you whenever you need.
In case you don’t know, hydration packs are incredible pieces of equipment that will allow you to bring your own private water reservoir with you in the form of a backpack. One of the many advantages of this is that it also allows you to pack everything else you’ll need on your journey.
Like any piece of equipment, your hydration pack must be kept and maintained in good condition so you can always rely on it. In fact, keeping your hydration pack clean is a huge part of the maintenance, and that’s what I want to talk about today.
Why is it necessary to keep my hydration pack clean?
Your hydration pack is your personal water reservoir, so you need to make sure that the water is always clean by keeping the container sanitized and uncontaminated. If you don’t use this piece of equipment very often, it’s vital to clean it before you fill it up and take it with you.
If you don’t keep an eye on the hygiene of your hydration pack, your water can be contaminated and the pack can even grow mold, which is not what we want. The health risks of drinking contaminated water are real, and that’s exactly why you bring your own water with you, now you just have to make sure that you keep it sanitized.
What’s the best way to clean my hydration pack?
Once you understand how important it is to keep your hydration pack clean, it’s time to take a look at how that can be accomplished. One very simple way to clean your hydration pack is to buy cleaner, mix it with hot water and fill the system. Once you’ve done that, soak the hydration pack in soapy water, scrub everything thoroughly, rinse it, and then let it air dry.
Now, to clean the reservoir thoroughly you’ll need mild dish soap and any of the following options:
● Reservoir cleaning tablets: These tablets are wonderful and you’ll only need to use one every time you want to clean your reservoir. Make sure that the kind you choose is formulated to remove deposits that build up in the hydration pack system over time.
● Baking soda: This will help you keep your reservoir odorless. Just mix a ¼ cup of baking soda with ¾ cups of water for every liter of water volume that your reservoir can hold.
● Bleach: This cleaning product will allow you to keep your reservoir free of bacteria, so use 2 to 5 drops of unscented bleach for very liter of water.
● Lemon juice: Lemon juice is a natural deodorizer, so you can use ¼ cup of lemon juice per liter of water to keep your reservoir nice and clean.
● Denture-cleaning tablets: These are a cheap alternative to reservoir cleaning tablets, so if you already have them around the house, you can use them to keep your hydration pack clean.
Bonus tip: For a more potent mix, you can combine the lemon juice with the baking soda and bleach to make sure that your reservoir is super clean and sanitized.
To make sure that you clean your reservoir and hydration pack well, you’ll also need a few of tools. Cleaning brushes are a must because they will allow you to clean the drinking tube and they will help you reach every nook and cranny in your reservoir. Scrubbing pads or brushes can also be very helpful, and knotted cords can help you clean your drinking tube all the way through on the inside.
In fact, cleaning kits provide all the tools you’ll need to make this task a lot easier. This 4 in 1 Hydration Bladder Reservoir Cleaning Kit includes a hanger, a flexible snake brush, cleaning brushes, and more.
Once your hydration pack is clean, you’ll also need to dry it out completely. The trick is to keep is open or hanging upside down until it’s completely dry, but you can also help yourself by using paper towels, reservoir hangers, clothespins, and clothes hangers, etc.
How to clean and scrub the hydration bladder of my hydration pack?
The most important part of your hydration pack is the hydration bladder, which means that you will need to pay a bit of extra attention when you’re cleaning your equipment.
To clean your hydration bladder thoroughly, follow this simple process:
Phase 1: Using cleaning tablets
- Fill the bladder with warm water, add a cleaning tablet, close it and then shake it a few times.
- Lift the reservoir up and allow the tube to dangle into your sink so you can open the bite valve and let the water flow out.
- Set it aside and let it soak for the recommended 5 minutes, if you’re using cleaning tablets, or for 20 minutes if you’re using regular cleaning products.
- Drain the bladder.
Phase 2: Soak and rinse
- Fill the bladder and tube with a mix of warm water and dish soap.
- Scrub both the interior and exterior of the bladder.
- Rinse everything thoroughly before moving on.
Phase 3: Let it dry
- Take the hydration pack apart, including the tube, the reservoir and the bite valve.
- Hang the reservoir upright and allow it to dry.
- Hang the tube as well. Remember there are tube hangers on the market but you can simply use a clothes hanger and drape the tube over the horizontal bar.
- That’s it!
Bonus tip: Make sure that the location you choose to get your hydration pack clean is dry and avoid humid places such as the bathroom.
As you can see, cleaning your hydration pack is very simple and it won’t take you longer than half an hour, so you don’t have any excuse to neglect it!
Ready for choosing your beloved hydration backpack? Check out here!
Leave a comment